ABOUT · OUTDOOR SCULPTURE CARE
Taking care of your outdoor sculpture
Ōamaru limestone is a durable stone — but outdoors it's exposed to rain, moisture and mould. A little care every six months keeps your piece looking its best for generations.
ALREADY DONE FOR YOU
Your sculpture arrives sealed and ready to place
FOUR-STEP CARE CYCLE
01
02
03
04
SPRAY
RINSE
DRY
SEAL
Every piece is professionally sealed before it leaves the studio — no prep required when it arrives.
Ōamaru limestone weathers beautifully. Expect the stone to develop a gentle patina over time — this is natural and adds character.
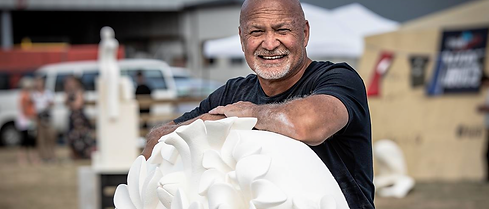
Questions about your specific piece? Brett and Christine are always happy to advise on care for your environment and climate.
RECOMMENDED CARE CYCLE
Every 6—12 months
01
STEP ONE
Apply the treatment
Mix one of the following with water and apply evenly to all surfaces — spray or brush on, working top to bottom:
-
30 Seconds — a concentrated mould and mildew remover
-
Janola — diluted household bleach
-
Wet & Forget — a spray-and-leave mould inhibitor
Use a brush for textured areas and hollows where spray may not reach.
These are New Zealand brand names. Internationally, look for a diluted bleach solution or a mould-and-mildew treatment suitable for stone surfaces.
Sand lightly with 120 grit sandpaper. Dust off thoroughly before retreating. Use this step sparingly — it is not part of the regular routine.
02
STEP TWO
Let it work
Leave the treatment on for 15 minutes. Keep surfaces wet throughout — reapply spray 2–3 times during this period if needed.
If mould or moss is stubborn, scrub with a firm brush before rinsing. A second treatment may be needed for heavy build-up.
FOR VERY STUBBORN MOULD ONLY
03
STEP THREE
Rinse thoroughly
Rinse the sculpture thoroughly with a hose, working top to bottom. Make sure all treatment residue is washed away.
Allow the stone to dry completely in natural air before the next step. Do not rush this — the stone must be fully dry.
04
STEP FOUR
Allow to dry fully
Let the sculpture dry completely in the air before putting it back in position. Avoid placing it in direct sun while still damp — allow it to dry naturally.
That's the 6–12 month cycle complete. Your sculpture is clean and ready for another season outdoors.
FULL RESEAL
Every 2—3 years
01
STEP ONE
Make sure the stone is dry
The stone must be completely dry before sealing — any moisture trapped beneath the sealer will cause problems. Allow at least 48 hours of dry weather before you begin.
Do not seal in direct sunlight or on a hot day — choose a mild, dry day for best results.
02
STEP TWO
Apply the sealer
Apply a penetrating masonry sealer liberally, starting from the top and working down. Use a brush or roller for even coverage.
In New Zealand: KiwiCare No Leaks Masonry Sealer or Bone Dry by Wet & Forget.
Internationally: look for a penetrating stone or masonry sealer — not a surface coating. The sealer should soak into the stone, not sit on top of it.
Christine can supply a 200ml bottle of KiwiCare No Leaks Masonry Sealer for $25 NZD — enough for most sculptures. Get in touch to order.
03
STEP THREE
Remember the base
Seal the bottom of the sculpture if you can — moisture enters from below as well as above. Tilt the piece carefully and apply sealer to the base and lower edges.
This step makes a real difference to the long-term durability of the stone, particularly in wetter climates.
04
STEP FOUR
Leave it to cure
Any streaks or marks will fade as the sealer dries and cures — don't worry if it looks uneven while wet. Allow the sealer to dry completely before rain or moisture.
The reseal is complete. Your sculpture is protected for another 2—3 years.
Not sure which sealer to use for your climate or location? Christine is happy to advise.
MORE FROM THE STUDIO